

Capturing the perfect moment can feel like a high-stakes game of dodgeball, especially when you’re the one behind the camera. But fear not, iPhone users! With just a few taps, you can unleash your inner photographer and ensure everyone’s in the frame—without the awkward arm stretch or frantic selfie angle.
Overview of Timer Photos on iPhone
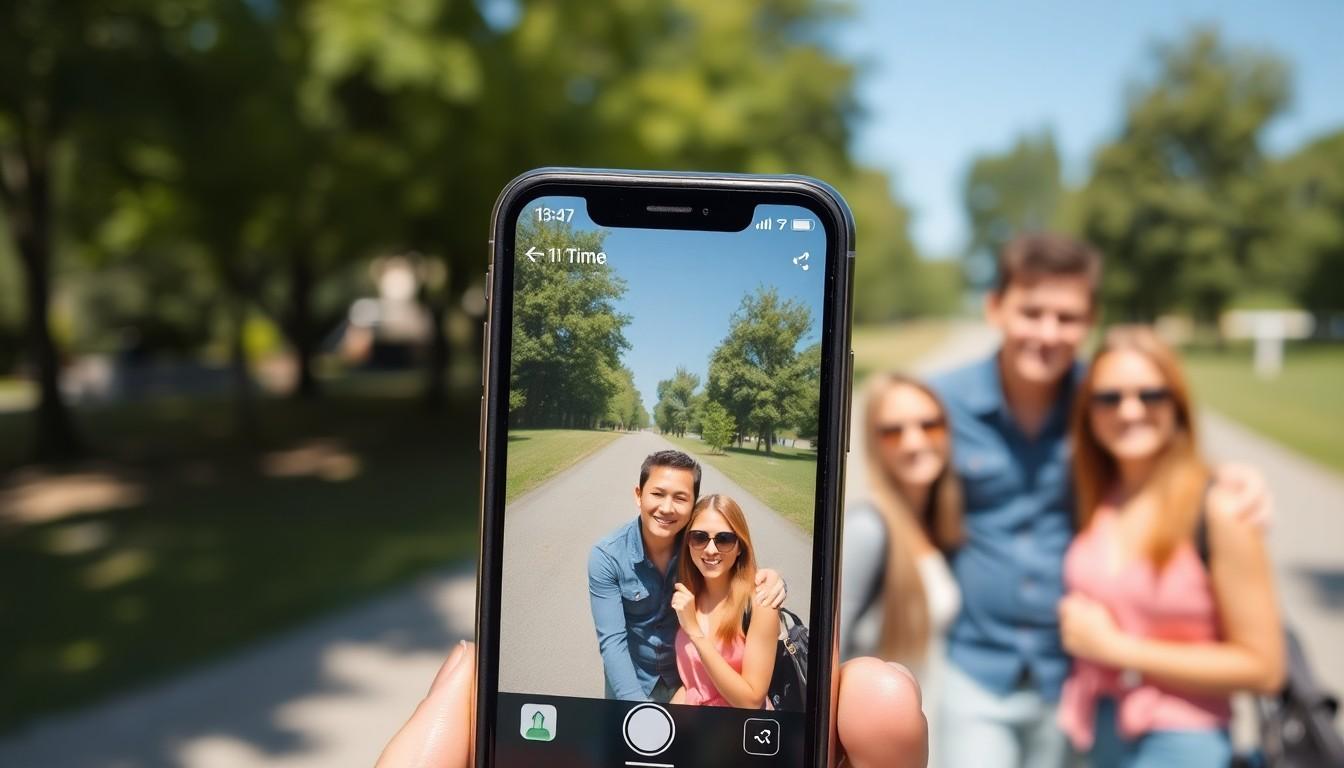
Timer photos provide an effortless way to capture images with iPhones, making it easy to include everyone in the frame without needing assistance. Users can set a timer that allows a few seconds for adjustments before snapping a picture. This feature suits various occasions, from group selfies to scenic shots where all users want to be present.
Utilizing the timer function is straightforward. First, open the Camera app. Then, locate the timer icon, typically at the top of the screen, and select the preferred timing option, either three seconds or ten seconds. Selecting the desired duration gives everyone enough time to position themselves.
Enhancing photos becomes possible through additional settings. Users can activate grid lines to assist with composition or switch between photo and video modes for more options. Enabling Live Photos captures moments just before and after pressing the shutter, adding an animated touch to still images.
Practicing some techniques can improve the experience. Choosing a stable surface for the iPhone ensures sharp images while engaging the timer. Utilization of a tripod or a steady hand provides further stability, especially in low light or windy conditions.
Reviewing settings before taking a shot also helps streamline the process. Adjusting exposure or focus enhances photo quality. Experimenting with different angles and settings fosters creativity and helps achieve the desired aesthetic.
Overall, timer photos streamline the process of capturing memorable moments. Users can enjoy photography without limitations imposed by arm reach or camera angles, ensuring everyone fits in the frame.
Accessing the Camera App
Accessing the Camera App on an iPhone is straightforward. Users can find it on the home screen for quick photography sessions.
Selecting the Right Mode
Users often choose the Photo mode for standard pictures. Portrait mode offers beautiful blurred backgrounds, enhancing focus on subjects. Panorama mode captures wide landscapes or large groups effectively. Switching between modes is simple; just swipe left or right on the camera interface. Experimenting with each option allows users to determine the best fit for their specific photography needs.
Finding the Timer Feature
Locating the timer feature requires minimal effort. After opening the Camera App, users tap the arrow at the top of the screen. This action reveals additional settings, including the timer. Once the timer icon appears, tapping it allows users to select a duration, typically three or ten seconds. The choice enables ample time for users to gather and position themselves for the perfect shot. Adjusting this setting may significantly enhance the photo-taking experience.
Setting Up Your Timer Photo
Setting up your timer photo on an iPhone is simple and efficient. Follow these steps to achieve the best results.
Choosing the Timer Duration
Select a timer duration that suits your needs. Options include three or ten seconds. Three seconds works well for quick adjustments, while ten seconds provides more time to set your pose or gather everyone into the frame. Access the timer by tapping the arrow at the top of the Camera app screen, enabling the timer feature. Experiment with each duration to determine which one captures the moment best.
Positioning Your iPhone
Positioning your iPhone correctly ensures a well-composed photo. Use a sturdy tripod or place the device on a stable surface to avoid shakes. Consider the angle from which you want to capture the shot. Experiment by adjusting the height and tilt for different perspectives. Always ensure the camera lens is unobstructed and facing the subject. Take time to frame the shot properly before hitting the timer, as this enhances the overall quality of the photograph.
Taking the Perfect Timer Photo
Capturing the perfect timer photo requires attention to detail and an understanding of composition. Several techniques can help improve the overall quality of photographs.
Using a Tripod or Stable Surface
Using a tripod enhances stability, preventing any shake during the shooting process. Tripods come in various sizes, ensuring users can find one suitable for their environment. Placing the iPhone on a stable surface, like a table or rock, provides a solid foundation for the camera. Adjusting the tripod height can help achieve unique angles that standard positioning may not allow. A steady setup significantly increases the chances of a clear, focused image.
Framing Your Shot
Framing the shot plays a crucial role in photography. Adjusting the composition involves considering the background and ensuring no distractions detract from the subject. Utilizing the grid feature in the camera settings aids in aligning subjects with the rule of thirds, creating a visually appealing shot. Experimenting with different angles can add depth and interest to the photo. Always remember to leave enough space around subjects, allowing for natural expression and movement in the frame.
Tips for Better Timer Photos
Adjust settings for optimal results. Users can customize exposure and focus by tapping on the subject within the frame. Choose the right location for capturing your photos. Natural light enhances image quality, so consider shooting near windows or outdoors when possible.
Consider using props such as a lightweight stool or outdoor bench for staging. Stability can improve photo quality, so remember to invest in a tripod for hands-free shooting. Set the timer with either three or ten seconds, depending on the desired time for quick adjustments or group coordination.
Utilize the grid feature within the Camera app. The grid helps align subjects according to the rule of thirds, creating a balanced composition. Experiment with the angle of the phone to capture various perspectives. Different angles can add depth and make photos more engaging.
Pay attention to the background elements before taking the photo. Cluttered backgrounds may distract from the main subjects. Incorporate meaningful elements like landmarks or nature for more visually appealing shots.
When gathering a group for a photo, arrange everyone to showcase enthusiasm. Candid moments often yield the most genuine smiles. Position individuals at varying heights to create visual interest, ensuring no one gets lost in the crowd.
Review the photos after each session to analyze the results. Learning from these shots leads to improved techniques and better timer photos in the future.
Conclusion
Mastering the timer photo feature on an iPhone opens up a world of possibilities for capturing memorable moments. With just a few taps users can include everyone in the frame without the awkwardness of reaching for the camera. By experimenting with angles and ensuring proper composition users can enhance their photography skills.
Attention to detail plays a vital role in achieving stunning results. Whether it’s adjusting settings or selecting the perfect location users can elevate their photos significantly. With practice and creativity they’ll soon find that taking timer photos becomes a fun and rewarding experience. Embrace this feature and enjoy capturing life’s beautiful moments effortlessly.


